Renovation methods to improve kitchen comfort and safety
Introduction
A well-designed kitchen doesn’t just look inviting; it helps you work with confidence, lowers the risk of accidents, and trims wasted effort. Cooking equipment is a leading cause of home fires in many countries, and slips, cuts, and scalds routinely happen on busy weeknights. When you renovate with comfort and safety in mind, you create a room that supports focus and calm—even during a rush. This article gathers field-tested methods, code-informed guidance, and ergonomic insights you can adapt to different budgets and layouts. Whether you’re planning a full remodel or a weekend project, the ideas below can help you measure, compare, and choose upgrades that pay off every single day.
Outline
- Section 1: Layout and Ergonomics for Safer Movement and Easier Work
- Section 2: Lighting and Visibility that Reduce Errors and Eye Strain
- Section 3: Floors, Counters, and Surfaces for Grip, Cushion, and Easy Cleaning
- Section 4: Ventilation and Temperature Control for Clean, Quiet Air
- Section 5: Electrical, Plumbing, and Fire Readiness Upgrades
Layout and Ergonomics for Safer Movement and Easier Work
Before picking finishes, map how people and tools move. Time-and-motion studies in residential design show that reducing steps between frequent tasks saves minutes per meal and lowers fatigue. Traditional “work triangle” thinking (sink–range–refrigerator) still helps, but many cooks benefit from flexible “zones”: prep, cooking, cleaning, baking, and beverage. In practical terms, this means placing knives, cutting boards, and a trash pull-out near the prep counter; pots and spatulas beside the cooktop; and dishes close to the dishwasher. Clearances matter: common residential guidelines recommend walkways of about 36 inches for pass-through areas, and 42–48 inches for work aisles, with the wider figure suiting two people cooking at once. These dimensions lessen collisions, reduce spills, and make room for a step stool or cart.
Ergonomics is the quiet hero of comfort. Standard counters sit around 36 inches high, yet users vary in height and tasks vary in force. Consider customizing: a slightly lower section (about 34 inches) for kneading or rolling dough improves leverage, while a raised section near the sink shortens reach for rinsing produce. Seating-height workstations with knee clearance (around 27 inches high) support seated prep on long days or for those with limited mobility. Heavy items—stand mixers, stockpots, bulk containers—belong between knee and shoulder height to avoid lifting from the floor or above the head.
Door swings and appliance placement can turn routine actions into hazards if ignored. Ovens at waist height reduce bending and keep hot trays away from toddlers’ reach. Install anti-tip brackets on ranges and ensure refrigerator doors open fully without blocking traffic or pinning someone against an island. Corner solutions like diagonal cabinets or rounded countertop corners soften bumps in tight spaces. If you’re planning for aging in place or diverse users, think about lever-style handles, D-shaped pulls, and high-contrast edges that make boundaries easier to see under varying light. Small choices—like a prep sink on the island to keep wet tasks away from the main traffic lane—translate into fewer spills and steadier footing over time.
- Aim for 36-inch walkways and 42–48-inch work aisles
- Keep heavy items between knee and shoulder height
- Add a seated-height prep zone with knee clearance
- Use rounded corners and anti-tip brackets to cut injury risk
Lighting and Visibility that Reduce Errors and Eye Strain
Light shapes safety more than most people realize. Insufficient or uneven illumination invites knife slips, misread labels, and missed spills. A simple framework—ambient, task, and accent—covers the bases. Ambient lighting should provide roughly 300–500 lux across the room for general clarity. Task lighting at the prep counter benefits from 700–1,000 lux to help you see food texture, remove bones, and read meat thermometers. Under-cabinet fixtures are powerful because they place light in front of your hands and eliminate shadows from cabinet faces. Choose diffused lenses to minimize glare on glossy counters, and position lights toward the front of the cabinet bottom so the beam reaches the cutting edge rather than the backsplash.
Color matters, too. A color rendering index (CRI) of 90 or higher helps you judge doneness and freshness by revealing truer reds and greens. For task zones, neutral-white light around 3,500–4,000 K keeps contrast crisp without feeling clinical, while warmer light in dining areas (about 2,700–3,000 K) fosters a relaxed mood. Dimmers and multi-circuit controls let you raise light for careful prep and lower it for dinner. If you wake for a glass of water at night, low-level pathway lighting—think toe-kick strips or inside-cabinet motion lights—can guide steps without blasting your eyes.
Natural light adds comfort but can also cause glare. If a window sits opposite a glossy counter or near a cooktop, consider shades that soften reflections and reduce heat gain. Skylights and solar tubes can bring daylight deep into the plan while keeping countertops out of direct sun. Avoid placing reflective materials directly under strong south-facing windows, as bright hotspots can mask spills. As a practical detail, clean fixtures and diffusers regularly; grease and dust can steal a surprising amount of light output over a year.
- Target 300–500 lux for ambient and 700–1,000 lux for prep
- Use CRI 90+ for accurate food color and doneness
- Place under-cabinet lights toward the front to cut shadows
- Add dimmers and night guidance lighting for comfort
Floors, Counters, and Surfaces for Grip, Cushion, and Easy Cleaning
The right surfaces act like quiet safety gear. Floors need enough traction when wet, enough resilience to reduce fatigue, and enough durability to outlast chair legs and pet claws. For tile, look for slip resistance aligned with ANSI A326.3 guidance; a wet dynamic coefficient of friction (DCOF) at or above 0.42 is commonly recommended for interior areas that may get wet. Textured porcelain and matte-finish ceramic balance traction with cleanability. Luxury vinyl and rubber sheets offer soft underfoot comfort and forgiving landings for dropped glasses. Cork provides warmth and cushion but needs proper sealing to handle splashes. Whatever you choose, use beveled-edge, anti-fatigue mats at the main prep and sink zones to cut lower-back strain and reduce trip edges.
Counters benefit from rounded edges—aim for a 3–5 mm radius—to reduce the severity of bumps and nicks. Non-porous materials are easier to sanitize because they don’t harbor moisture in micro-pores, though regular cleaning remains essential regardless of material. If you love butcher block for its warmth and knife-friendliness, place it in a secondary prep area and maintain a food-safe finish; keep high-splash zones near the sink in more water-tolerant surfaces. Consider a slightly contrasting counter color or front-edge strip so you can easily spot the edge while carrying hot pans. Backsplashes should be smooth, heat-tolerant, and simple to wipe down; larger-format tiles or continuous sheets reduce grout lines where grease can linger.
Cabinet interiors and hardware also influence comfort. Full-extension drawers and pull-outs bring items to you instead of sending you to the back of a dark shelf. Soft-close hinges reduce slams and pinched fingers. Inside drawers, dividers hold knives flat and secure, lowering cut risk when reaching. If you add glass cabinet doors, specify tempered glass for durability. For sinks, single-bowl models with rear drains free more flat space at the base cabinet and shift the plumbing to allow wider pull-outs. Pair that with a tall, single-lever or hands-free faucet to reduce wrist deviation and help keep raw-meat handling efficient.
- Choose floors with wet traction and cushioned mats at sink and prep
- Round countertop edges to soften impacts
- Use full-extension pull-outs and soft-close hardware
- Keep high-splash areas non-porous and easy to wipe
Ventilation and Temperature Control for Clean, Quiet Air
Good ventilation is a cornerstone of kitchen safety. Cooking emits fine particles and gases that can irritate lungs and eyes; searing and frying produce the most. A ducted range hood that vents to the outdoors generally removes pollutants more effectively than recirculating options, which mainly filter grease and some odors. For sizing, common rules of thumb include 100–150 CFM per linear foot of cooktop, or roughly 1 CFM per 100 BTU for gas equipment, though capture efficiency and hood design matter more than raw airflow. A deeper hood that overlaps the front burners tends to catch rising plumes better. Keep duct runs short and straight, use smooth metal, and size ducts according to the manufacturer to prevent noise and backpressure.
Noise affects comfort and compliance; a quiet hood is one you’ll actually use. Look for low sone ratings at typical speeds and turn the fan on early—before heat and steam build—so you can run it at a gentler setting. Clean baffle or mesh filters monthly to sustain airflow. If your home is very tight, makeup air may be required when higher airflow is used; consult local code and a qualified contractor to keep pressure balanced and fireplaces safe. Supplementary strategies include covered pans to contain aerosols, splatter screens, and cookware that matches burner size to minimize waste heat.
Thermal comfort deserves attention, especially in small kitchens. Induction cooktops keep ambient temperatures lower by heating the pan, not the air, and their smooth surfaces are easier to wipe. In any kitchen, shading for west- and south-facing windows, reflective shades, or exterior awnings can temper late-day heat. Consider ceiling fans in adjacent spaces to move air gently without interfering with hood capture at the cooktop. In colder climates, radiant toe-kick heaters or warm floors make winter prep more pleasant and reduce condensation on cold surfaces near windows.
- Favor ducted hoods with good capture area and clean filters
- Size and route ducts to reduce noise and resistance
- Add shading and gentle air movement for thermal comfort
- Turn the hood on early to keep speeds—and noise—lower
Electrical, Plumbing, and Fire Readiness Upgrades
Behind the finishes, safety lives in wiring, piping, and planning for the unexpected. Ground-fault circuit interrupter (GFCI) protection is widely required for kitchen countertop receptacles because it cuts power quickly when it detects current leakage—exactly what you want near water. Arc-fault circuit interrupters (AFCI) may also be required in many dwelling areas to reduce the risk of fire from arcing faults. Tamper-resistant receptacles protect curious hands. Layout-wise, place outlets so that no point along the counter is more than about 24 inches from a receptacle, minimizing cord drape across sinks and hot zones. Avoid outlet faces on horizontal countertop surfaces to reduce spill exposure, and keep switches for disposals or hoods accessible without reaching across burners.
On the plumbing side, anti-scald valves and thermostatic mixing help maintain safe water temperatures at the sink, while insulated or offset supply lines reduce accidental burns to the back of the hand when reaching under the basin. Consider shutoff valves that are easy to reach and label them clearly; in a rush, you want to know which one to turn. Smart leak sensors with audible alerts add another layer of protection at sinks, ice makers, and dishwashers. If you’re replacing a dishwasher, include a pan and a drain or a sensor under the unit to catch slow leaks before they reach the subfloor.
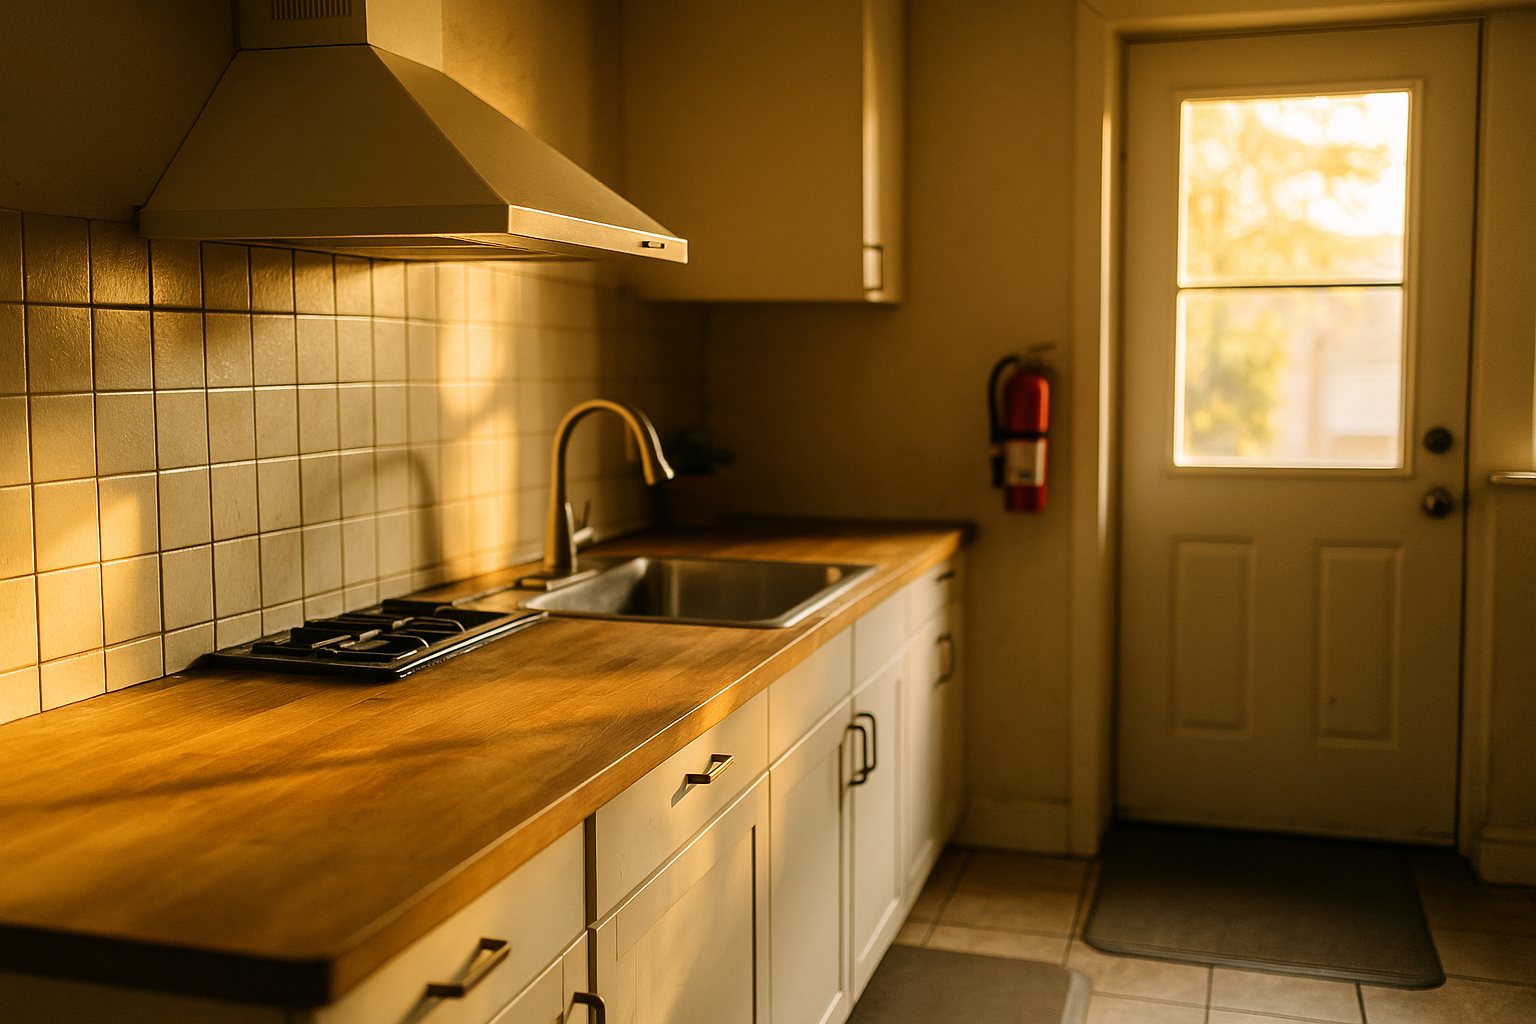
Fire readiness turns a frightening “what if” into a plan. Keep a multipurpose extinguisher with a rating suitable for cooking fires near the exit—so you can fight or leave—and check its pressure gauge periodically. Many safety organizations report that cooking is responsible for a large share of residential fires, often around half of reported incidents, with unattended cooking as a leading factor. Never use water on a grease fire; instead, smother with a metal lid, a fire blanket, or use an appropriate extinguisher. Smoke alarms belong just outside the kitchen to reduce false triggers; a heat detector in the kitchen can provide earlier warning without steam-induced nuisance. Create a simple checklist on the inside of a cabinet door to rehearse what to do and whom to call.
- Add GFCI/AFCI protection and tamper-resistant receptacles
- Install anti-scald valves and easy-reach shutoffs
- Place a multipurpose extinguisher near the exit and maintain it
- Use leak sensors at sinks, dishwashers, and ice makers
Conclusion: A Kitchen That Works as Hard as You Do
Comfort and safety grow from dozens of small, well-placed decisions—clear aisles, rounded edges, layered light, dependable ventilation, and protected utilities. If you measure your space, define your zones, and prioritize upgrades that remove daily friction, you’ll cook more confidently and recover faster from the occasional spill or surprise. Start with one area—a brighter prep counter, a slip-resistant mat, or a properly sized hood—and let the momentum carry through the rest of the room. Your future self, moving smoothly with a hot pan and a calm mind, will thank you.